
Weaving 101 on a Frame Loom pre-sale starts September 1st. Sign up for the mailing list to get the pre-sale alert!
One class, lifetime access.
Weaving 101 is set to start October 15th. Students wishing to pre-purchase the course prior to October 15th will enjoy the current discounted rate. Please note on October 15th, the price will revert to its regular rate of $100.
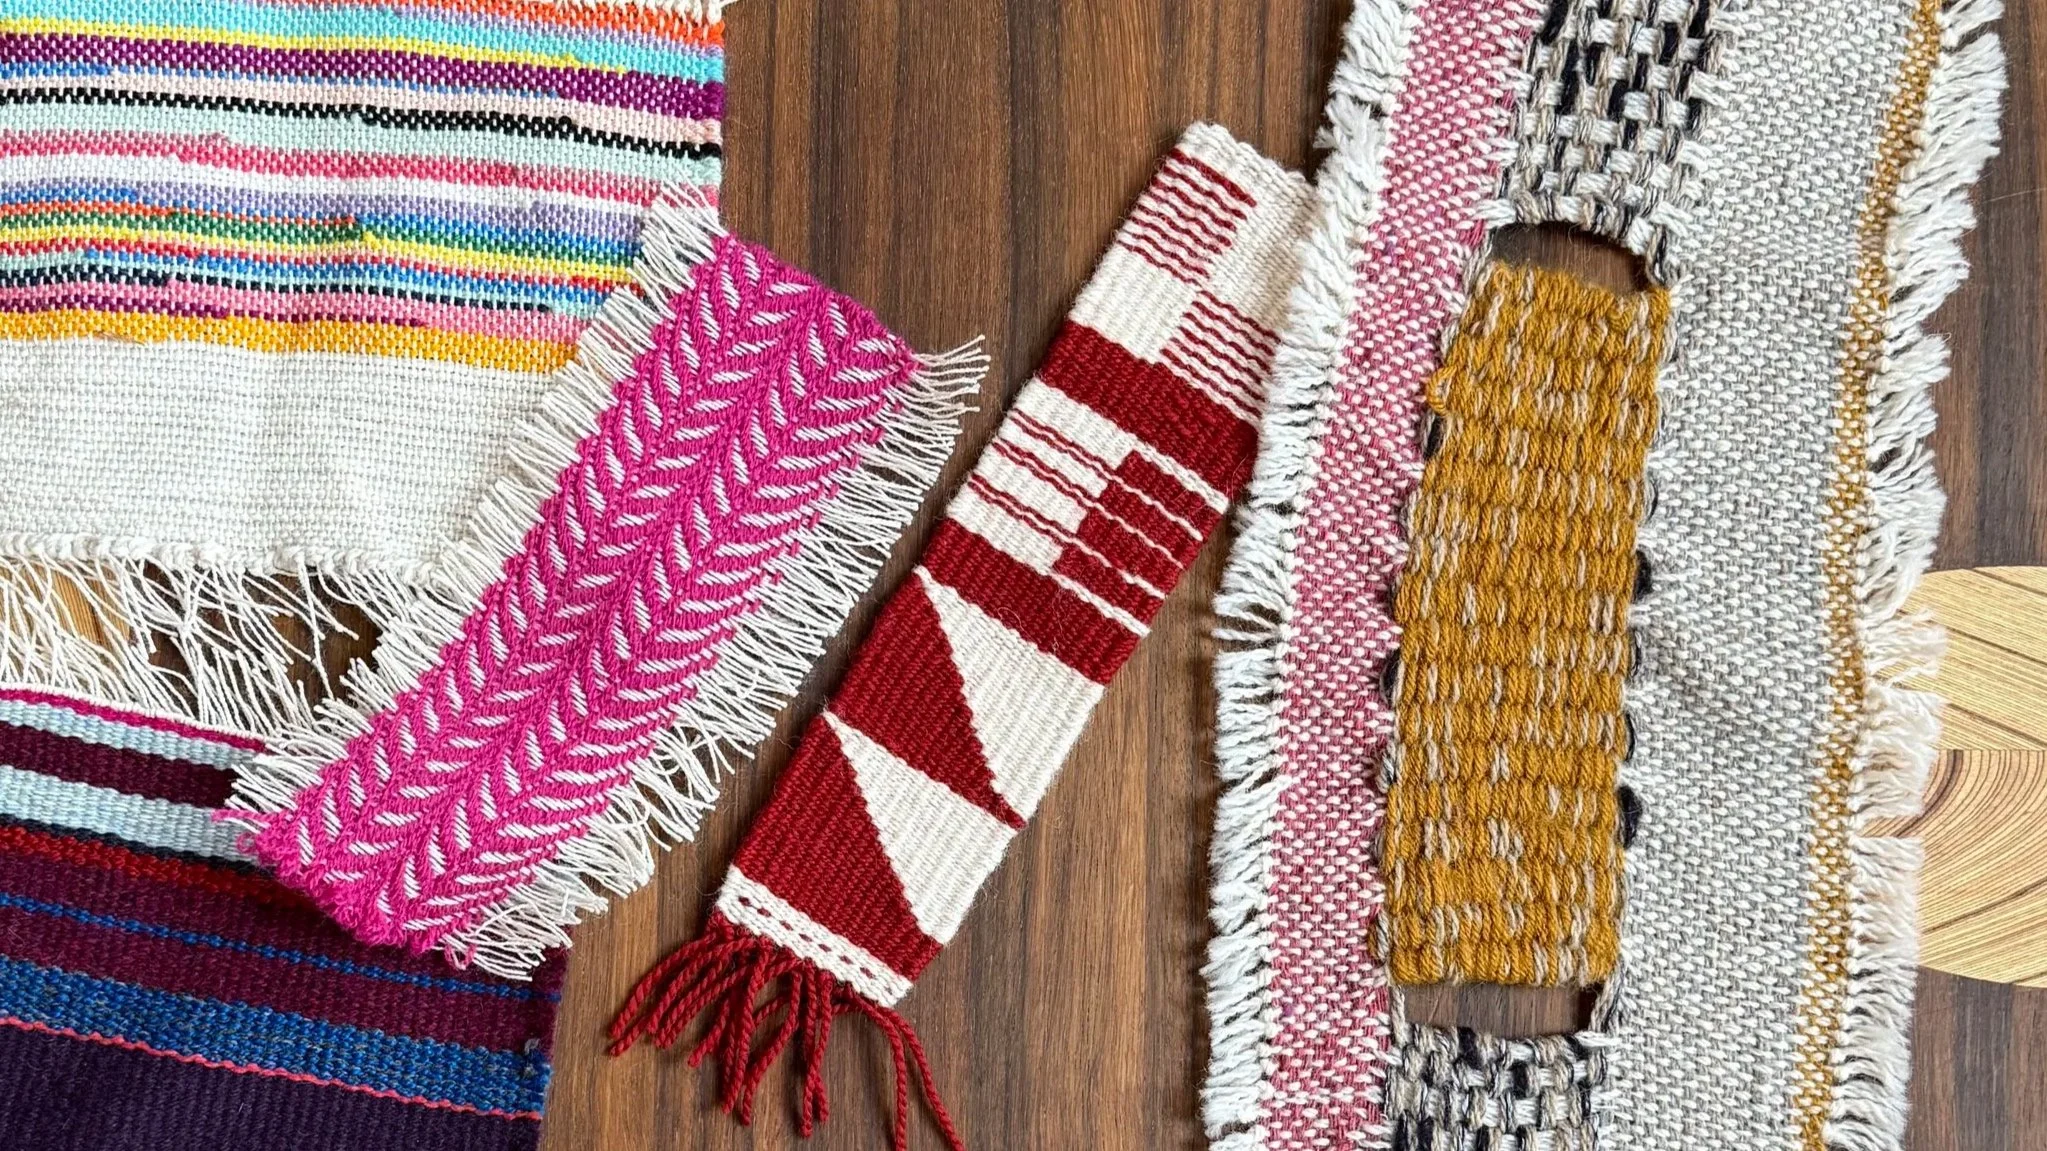
In this self-paced online beginner weaving course, you will immerse yourself in the captivating world of tapestry weaving on your own frame loom. This course is designed to teach you how to start your first weaving project from beginning to end, including finishing and displaying your work with additional tips and tools to provide you with the confidence to continue weaving.
What You’ll Learn - Class Syllabus
This class is for beginner weavers with little or no experience. Please read the lesson plan to ensure this class suits your skill level before pre-purchasing.
Lesson 1: Learn about the early beginnings of weaving through samples of weavings throughout the ages. Plus, I’ve included some links to other resources where you can dive deeper into the world of weaving if you’re interested. (welcome video)
Lesson 2: Learn about weaving terminology used in this class and the tools you will need to weave your first woven art. (video instruction) + (bonus video)
Lesson 3: Learn all about warp and weft used in weaving. Warp and weft are the two essential sets of threads used to turn yarn into woven fabric. (video instruction)
Lesson 4: Learn about your frame loom and prepare it to weave. Warping the loom, securing your threads for weaving and more are discussed here. (video instruction) (bonus video - how to make your own frame loom)
Lesson 5: Learn how to start your weaving with a base layer and a special woven base stitch. (video instruction) + (bonus video)
Lesson 6: Learn about using a “cartoon” which acts as a visual guide behind your loom, or if your design is geometric, you can use cardboard cutouts. We’ll explore both methods. (video instruction) + (bonus video)
Lesson 7: Learn how to prepare you weft for weaving with different types of tools including bobbins, shuttle sticks, weaving needles and butterflies. (video instruction)
Lesson 8: Learn about starting to weave your first rows of plain weave with tips to keep your weaving straight on the edges as well as a balanced weave throughout. (video instruction)
Lesson 9: Weaving stripes is a great way to get started with weaving! By playing with shading, thickness, and the type of weft, you can create some really cool visual effects. We’ll dive into all sorts of different possibilities in this lesson. (video instruction) + (bonus video)
Lesson 10: Weaving on a diagonal is achieved a few different ways. I will teach you how to join two different weft yarns while you weave in a diagonal to create a triangle shape. (video instruction) + (bonus video)
Lesson 11: Weaving a smooth half-circle on a grid of straight warp threads requires building up rows incrementally—a technique known as eccentric weaving. We will explore that technique. (video instruction) + (bonus video)
Lesson 12: Learn to weave a simple hatching technique that creates cool effects like shading and color blending. (video instruction)
Lesson 13: Learn to finish off your last rows of weaving with special stitching and take your weaving off the loom. (video instruction)
Lesson 14: Learn how to clean up the back of your weaving and offer suggestions for displaying your new woven piece. (video instruction) + (bonus video)
-
Your purchase includes all materials associated with the Weaving 101 course and any new material released for the class while you're a student.
-
I’m sorry, but that’s not possible. Once you’ve bought and signed up for the class, you’ll have full access to the class and all the materials. It takes a lot of time to prepare a class for students, and I’m dedicated to making sure you have the best learning experience possible. Please take a look at the description and syllabus to see if this course is a good fit for your skill level before you purchase.
-
That’s exactly what I am aiming for in future classes. Since this is my first one, we’re both learning together. When I introduce new content, tools, and updates, you’ll be the first to hear about it via email.
-
Absolutely! I really value student feedback, whether it’s positive or constructive. It’s a key way for me to improve the courses. Student input is especially important for future classes, so I can keep creating the best courses that everyone will love.